Setting Up Your Environment
Table of contents
Installing a terminal
A terminal (also known as the command line or console) is a program that allows you to type and execute text-based commands to control actions on your computer.
Windows
There are several options for your terminal, but please install Git-Bash for this class.
macOS / Linux
If you are using macOS or Linux, you already have a program called Terminal.
Installing Anaconda
Anaconda is a Python and R distribution that contains various packages used in data science and machine learning. It also includes an environment management system called Conda, which allows you to easily install/update packages and create/load environments. This allows you to, for example, work with different versions of Python on the same computer by creating a separate environment for each.
Please download Anaconda here.
Testing your environment
Let’s make sure everything is set up correctly and get more familiar with using our terminal.
Using the terminal
First, open your terminal. You should get something like the following:
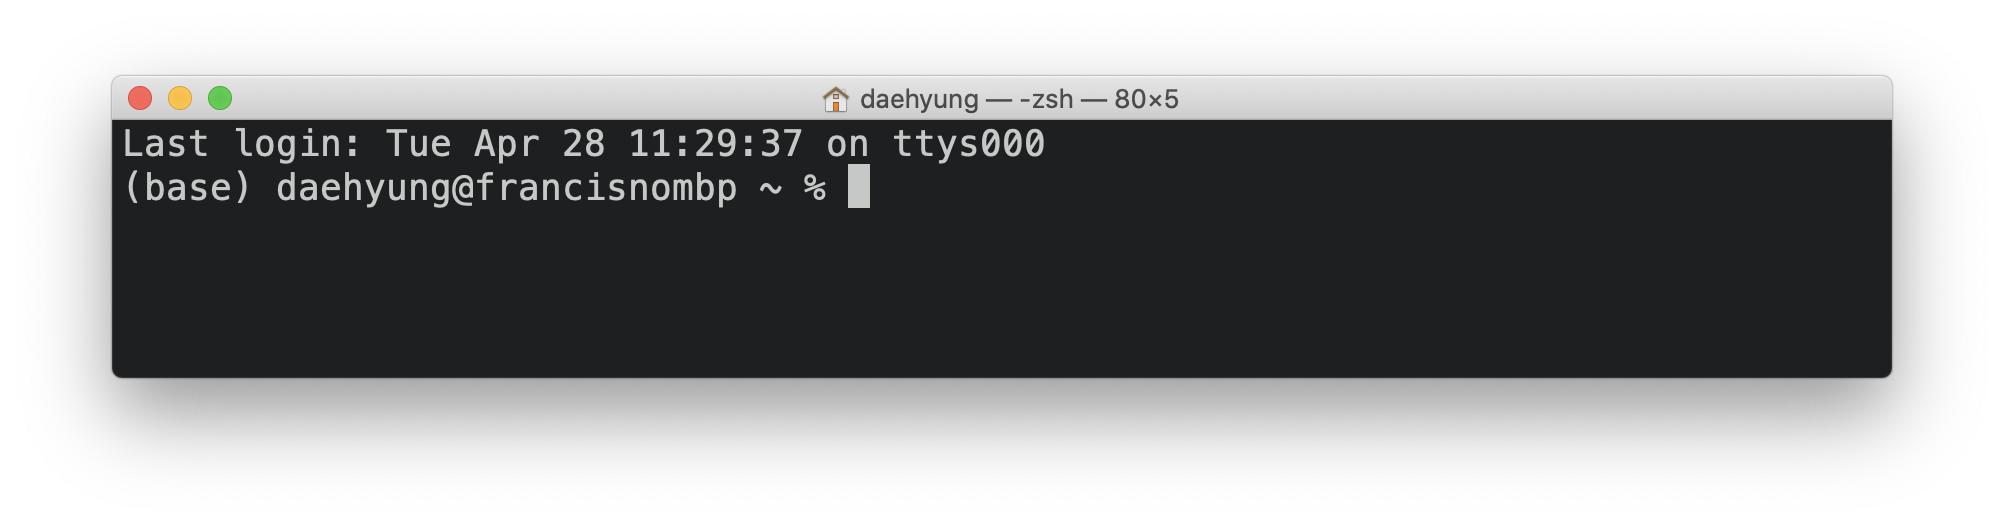
Don’t worry if your terminal looks slightly different. However, make sure that you see either a dollar sign ($) or a percent sign (%), waiting for you to type a command.
Directories
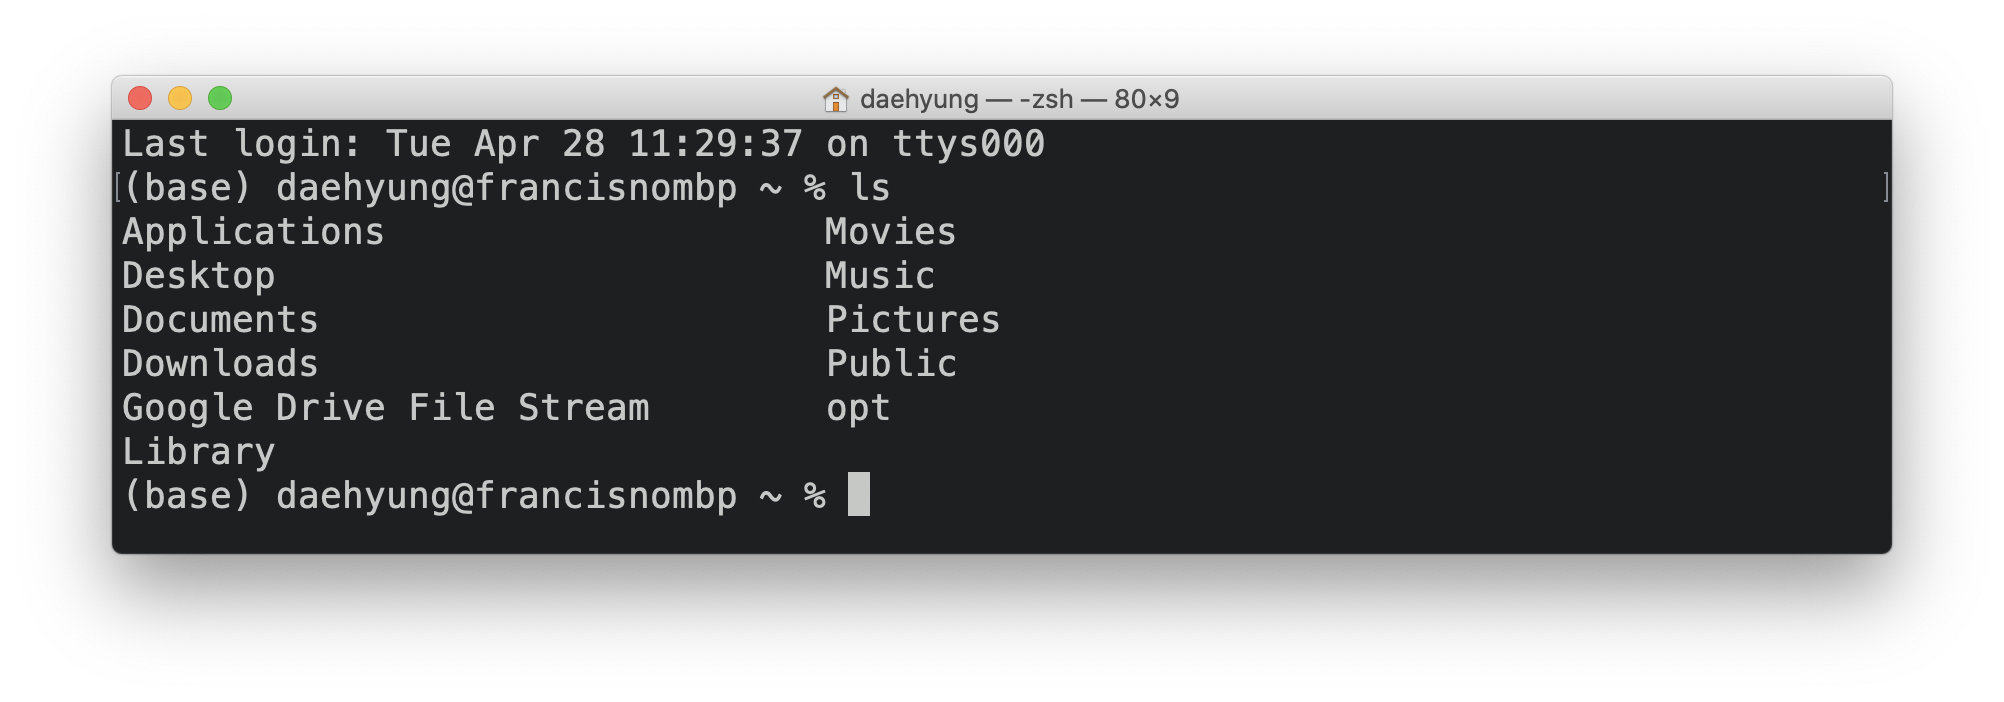
We will first have our terminal show us a list of all files and folders in the current directory. Try typing ls into the terminal:
ls
You should now see all the contents of your home directory. For me, I have the following:
Moving between directories
Choose a place on your computer where you would like to store your files for this class. Let’s make a folder called dsper in your Documents folder.
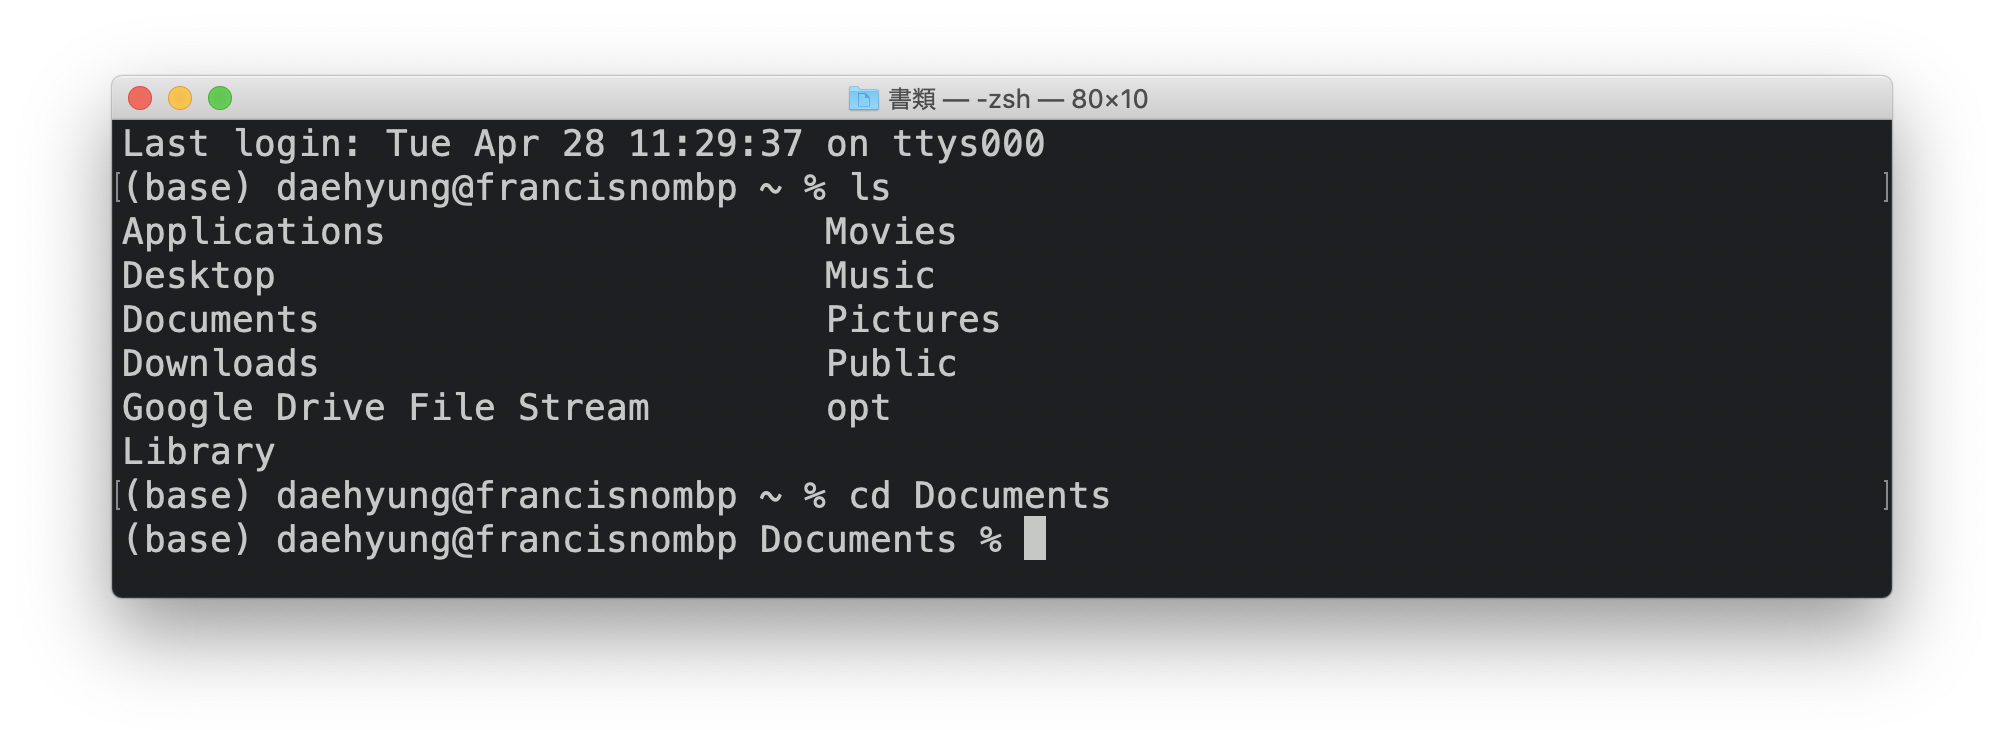
First, we will need to move to the Documents folder, using the cd command. Let’s type the following into our terminal:
cd Documents
Now, we’re in the Documents folder:
Next, let’s create a new folder called dsper, using the mkdir command:
mkdir dsper
Now, if you type ls (while still in the Documents folder), you should see your new dsper folder.
To move to the parent directory of whatever directory you’re in, you can use cd ... To move to your home directory, use cd ~.
Creating a new Jupyter Notebook
On your terminal, use cd to move into dsper, or the folder you would like to work in for this class. Jupyter Notebook is a web application that allows us to work with live code and data visualizations right in our browser.
Type the following into your terminal:
jupyter notebook
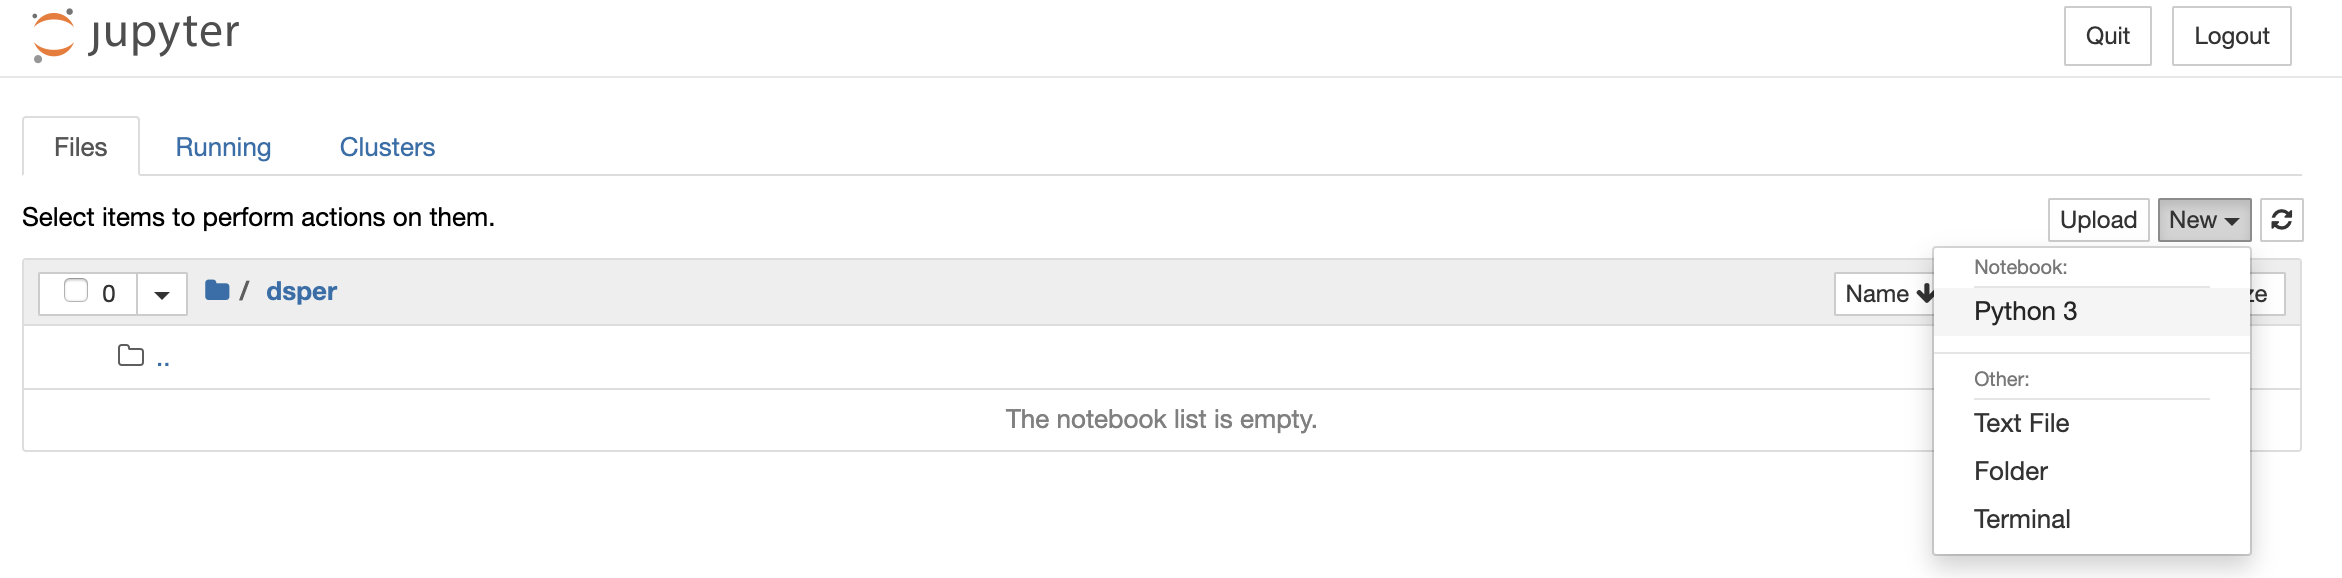
This will launch a Jupyter Notebook server in your browser at http://localhost:8888/. If it doesn’t open automatically, copy and paste http://localhost:8888/ into your browser. You should see something like the following:
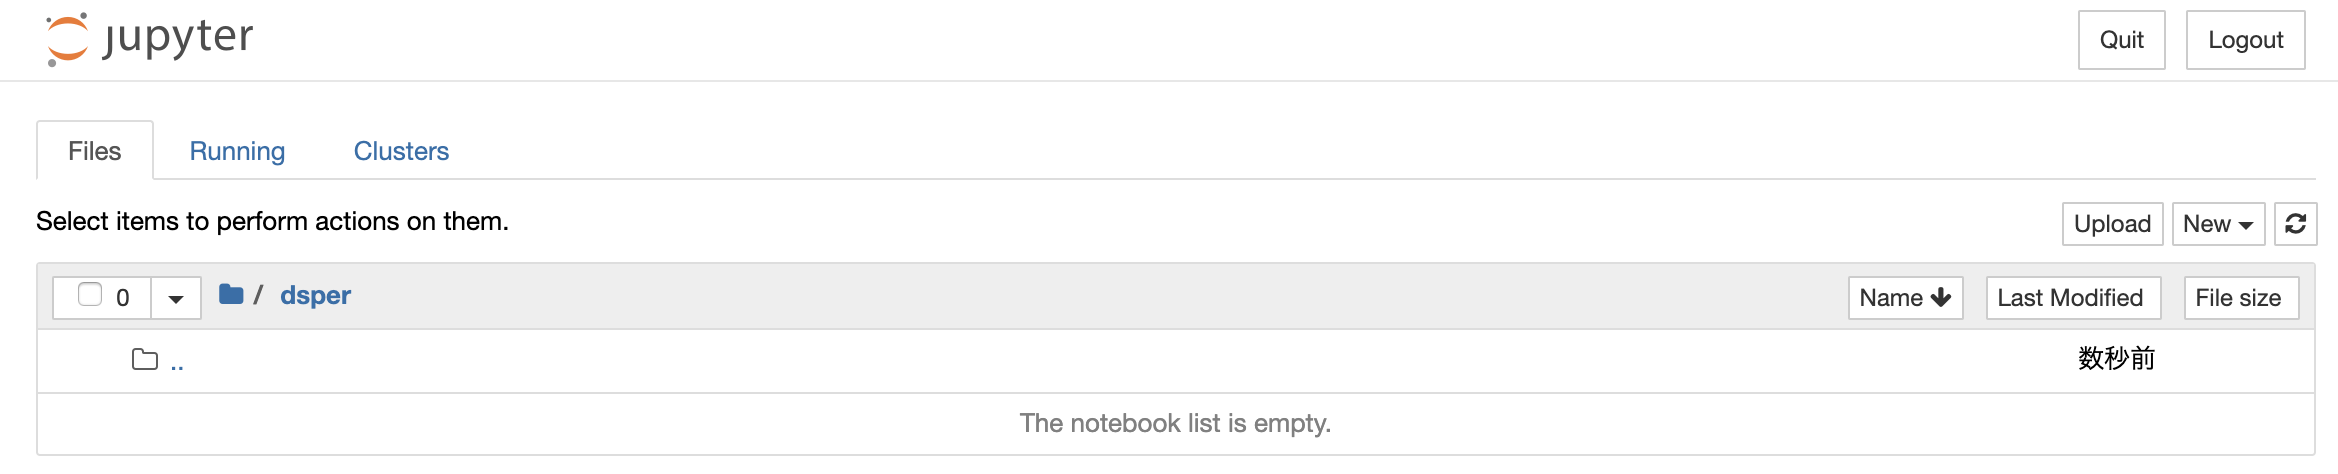
Let’s click on New on the right side, and select Python 3:
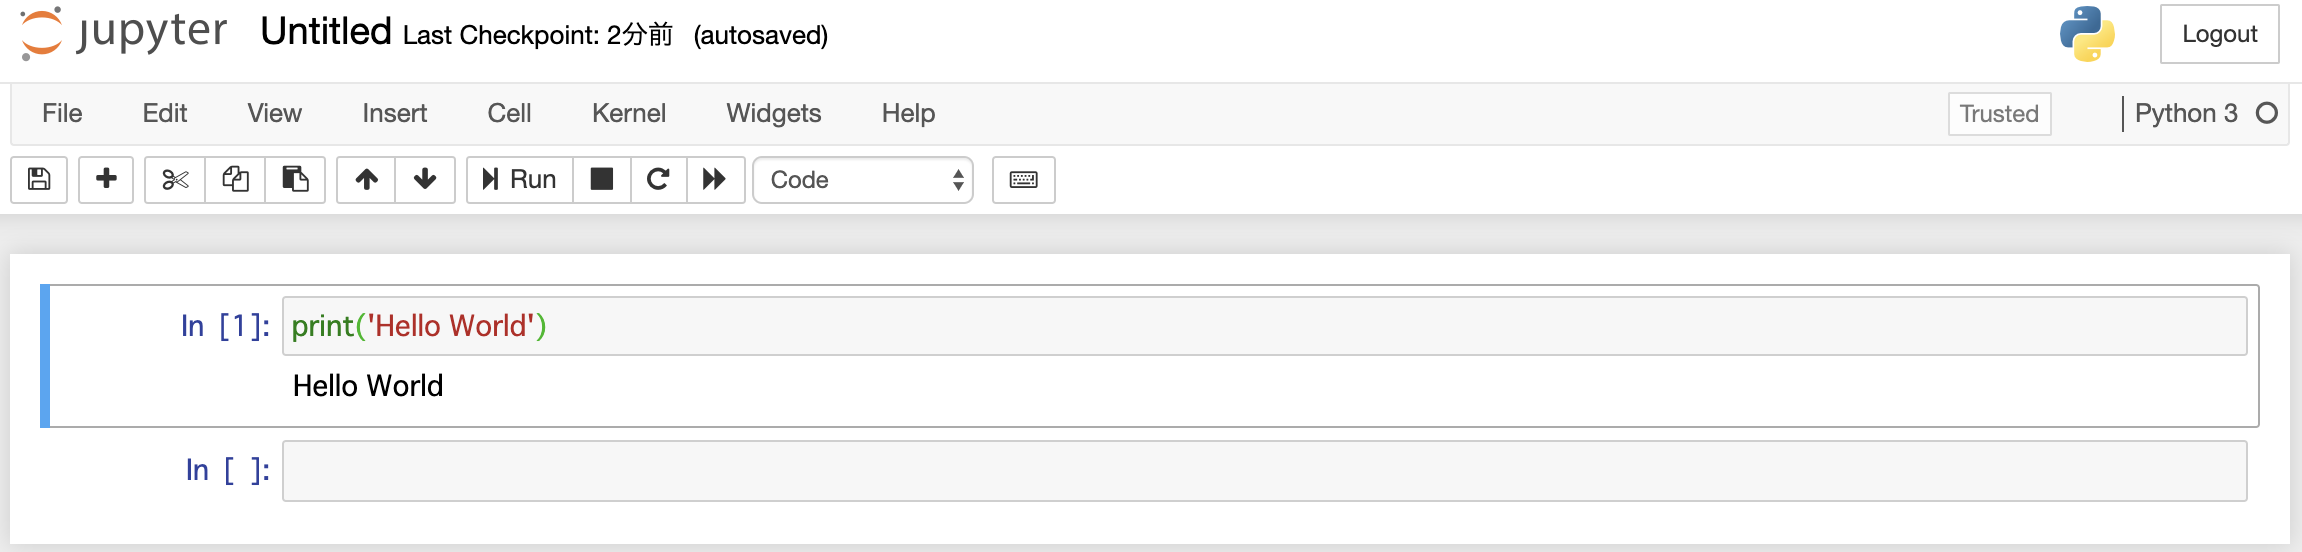
You now have created a new Jupyter Notebook! Type print('Hello World') into the first cell and then press Enter while holding the Shift key to run this cell:
To shut down your Jupyter Notebook server, type ctrl + c into your terminal.
You will complete your homework assignments in these notebooks.